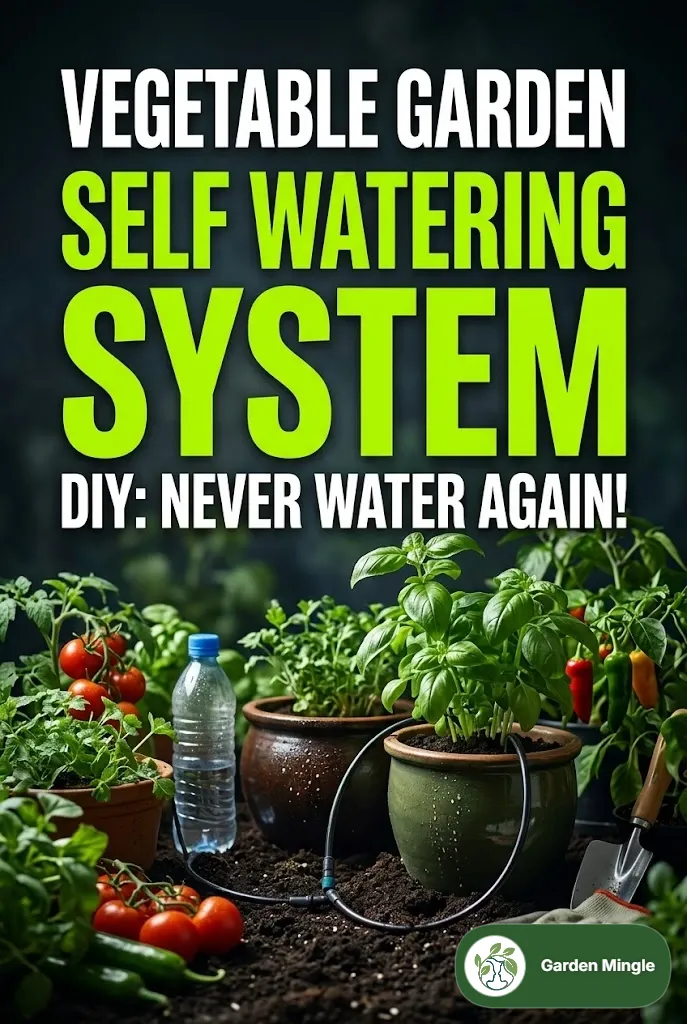

- Vegetable Garden Self Watering System DIY: Never Water Again! - July 21, 2026
- How to Grow Garlic from a Clove in a Pot: Secret Tips Revealed! - July 21, 2026
- How to Grow Sweet Potatoes in Containers - July 21, 2026
Share the post "Vegetable Garden Self Watering System DIY: Never Water Again!"
Imagine stepping into your garden and seeing vibrant, thriving vegetables, all while knowing you won’t have to drag a hose or lug watering cans around. Sounds dreamy, right? With a DIY self-watering system, that dream can become a reality. This innovative approach not only saves time but also ensures your plants receive consistent moisture, which is key to their growth. Let’s dive into how you can create your own self-watering system for your vegetable garden!
Quick Answer
A DIY self-watering system for your vegetable garden can be created using simple materials like plastic containers or buckets, a wicking material, and a reservoir. This system allows plants to draw water as needed, ensuring optimal moisture levels without daily watering.
Understanding Self-Watering Systems
Self-watering systems work by utilizing a reservoir of water that allows plants to absorb moisture through a wicking action. This method helps prevent overwatering and underwatering, making it ideal for busy gardeners or those in warmer climates. Here are the main components you’ll need:
- Container: Choose a suitable size based on the types of vegetables you’re growing.
- Reservoir: This holds the water and can be a separate container or part of the main container.
- Wicking material: Common choices include cotton rope or strips of fabric to draw water up to the soil.
- Soil: A mixture that retains moisture while allowing for good drainage.
Step-by-Step Guide to Creating Your Self-Watering System
Materials Needed
- Plastic containers or buckets (two of different sizes)
- Cotton rope or fabric strips
- Drill with a drill bit
- Potting soil
- Vegetable seeds or seedlings
Instructions
- Prepare the Containers: Take the larger container and drill holes in the bottom, spaced evenly. These holes will allow excess water to drain and provide airflow.
- Create the Reservoir: Place the smaller container upside down inside the larger one, ensuring it doesn’t touch the ground. This will be your water reservoir.
- Insert Wicking Material: Cut a piece of cotton rope or fabric long enough to reach from the bottom of the reservoir to the soil level in the larger container. Insert one end into the reservoir and let the other end dangle down into the soil.
- Add Soil: Fill the larger container with potting soil, leaving enough space at the top for your vegetable seeds or seedlings.
- Plant Your Vegetables: Sow your seeds or transplant your seedlings into the soil. Water them lightly to help establish them.
- Fill the Reservoir: Pour water into the smaller container. The wicking material will begin to draw moisture up into the soil as needed.
Pinterest-Style Ideas for Self-Watering Systems
Here are some creative ideas for customizing your self-watering system to make it both functional and visually appealing:
- Vertical Gardens: Use stacked containers to create a vertical self-watering garden. This saves space and adds aesthetic appeal.
- Colorful Planters: Paint your containers with bright, inviting colors or patterns to enhance your garden’s look.
- Decorative Covers: Create decorative covers for your reservoir to keep it safe from debris while blending in with your garden decor.
- Integrated Trellis: Build a trellis above your self-watering system for climbing vegetables like tomatoes or cucumbers.
Common Mistakes to Avoid
When setting up your self-watering system, be mindful of these common pitfalls:
- Overwatering: Ensure your reservoir doesn’t fill up too quickly; too much water can drown the roots.
- Using Poor Soil: Choose a quality potting mix that retains moisture but drains well to promote healthy root growth.
- Ignoring Drainage Holes: Always have drainage holes to prevent root rot and excess water buildup.
Expert Tips for Success
Here are some insider tips to maximize the effectiveness of your self-watering system:
- Monitor Moisture Levels: Use a moisture meter to check the soil’s dampness regularly to ensure the system is working effectively.
- Mulching: Add a layer of mulch on top of the soil to reduce evaporation, keeping the moisture intact longer.
- Seasonal Adjustments: Adjust the amount of water in the reservoir based on weather conditions. Hotter days may require more frequent refills.
Common Questions (FAQ)
How often should I refill the reservoir?
Refill the reservoir as needed, typically every 1-2 weeks, depending on the size of the container and weather conditions.
Can I use this system for all types of vegetables?
Yes, most vegetables benefit from a self-watering system, but be mindful of the specific water needs for each type.
What materials are best for the wicking system?
Cotton rope or old t-shirts cut into strips work well as they efficiently draw moisture up to the soil.
Can I use this system indoors?
Absolutely! Just ensure your indoor setup has adequate light and airflow for the plants to thrive.
How do I know if my plants are getting enough water?
Check the soil moisture regularly; it should be damp but not soggy. Wilting leaves can also indicate a lack of water.
Conclusion
Creating a DIY self-watering system for your vegetable garden can transform your gardening experience, saving you time and ensuring your plants thrive. With just a few materials and some creativity, you can enjoy a garden that requires minimal maintenance. So, gather your supplies and get started—you’ll wonder how you ever gardened without it!
Leave a Reply