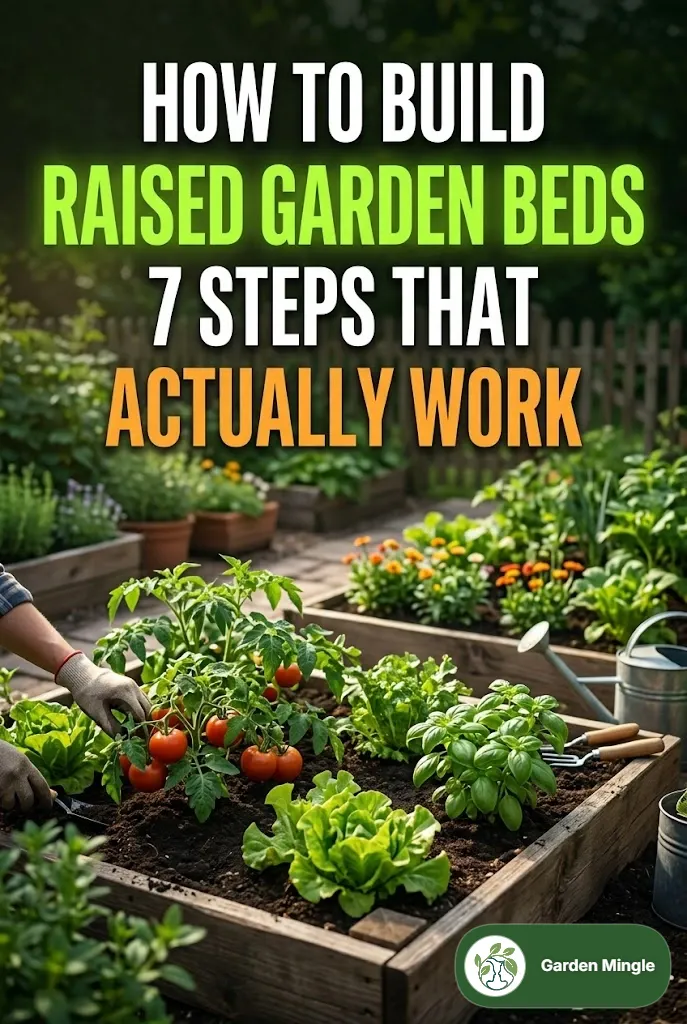

- How to Build Raised Garden Beds: 7 Steps That Actually Work - July 28, 2026
- Monthly Garden Guide: Best Times to Plant Fruits & Vegetables - July 28, 2026
- 10 Genius Organic Pest Control Hacks Your Garden is Begging For - July 28, 2026
Share the post "How to Build Raised Garden Beds: 7 Steps That Actually Work"
Building raised garden beds is one of the most rewarding projects for any gardening enthusiast. Not only do they provide a controlled environment for your plants, but they also make gardening easier on your back and knees. If you’ve ever looked at a bare patch of soil and imagined it brimming with vegetables and flowers, this guide is for you. Get ready to transform your garden space into a flourishing oasis with a step-by-step approach that truly works!
Quick Answer
To build raised garden beds, follow these steps: choose your location and materials, measure and cut wood, assemble the frame, secure it, fill it with soil, add plants, and maintain your garden. This method will ensure a successful, productive garden bed.
Step 1: Choose the Right Location
The first step in building your raised garden bed is selecting the ideal location. Look for a spot that receives at least 6 to 8 hours of sunlight daily. Avoid areas with poor drainage or where water tends to pool. Consider proximity to a water source for easy irrigation and ensure it’s accessible for maintenance.
Step 2: Select Your Materials
Choosing the right materials is crucial for the longevity and safety of your raised garden bed. Here are the common options:
- Wood: Cedar or redwood are excellent choices due to their natural resistance to rot. Avoid treated lumber, as chemicals can leach into the soil.
- Bricks or Stone: These materials offer durability and a classic look, but they can be more expensive and labor-intensive to install.
- Metal: Galvanized steel beds are modern and stylish, but ensure they are lined to prevent soil from leaching heavy metals.
Step 3: Measure and Cut Your Wood
Once you’ve decided on the materials, it’s time to measure and cut the wood for your raised bed. A standard size is 4 feet by 8 feet, allowing easy access from all sides. Use a saw to cut your boards to the desired length. If you’re making multiple beds, ensure consistency in size for a uniform look.
Step 4: Assemble the Frame
Now that you have your wood cut, it’s time to assemble the frame. Lay out the boards to form a rectangle. Use corner brackets or screws to secure the corners, ensuring they are tight and sturdy. If you want added height, you can stack another layer of wood on top of your first frame.
Step 5: Secure the Bed
To keep your raised bed stable, secure it in place. You can drive stakes into the ground at each corner or use rebar to anchor it down. This step is especially important in areas with high winds or heavy rain.
Step 6: Fill with Soil
Now comes the fun part—filling your raised bed with soil! A mix of high-quality topsoil, compost, and organic matter will create a nutrient-rich environment for your plants. Aim for a soil depth of at least 12 inches for optimal root growth. Consider adding mulch on top to help retain moisture and suppress weeds.
Step 7: Plant and Maintain Your Garden
With your raised bed ready, it’s time to plant! Choose plants suitable for your climate and the season. Start with easy-to-grow vegetables like radishes, lettuce, or herbs. Regular maintenance is key: water your plants as needed, monitor for pests, and add nutrients throughout the growing season. Don’t forget to enjoy the fruits of your labor!
Pinterest-Style Ideas for Raised Garden Beds
- Vertical Gardens: Use trellises to save space and create visual interest.
- Colorful Edging: Paint your wooden beds in bright colors for a cheerful garden vibe.
- Companion Planting: Mix plants that grow well together to maximize space and health.
- Herb Spiral: Create an eye-catching spiral formation for your herbs.
- Decorative Stones: Line the edges with decorative stones for a polished look.
Expert Tips for Building Raised Garden Beds
Here are some insider tips to enhance your raised garden bed experience:
- Consider Drainage: Add a layer of gravel at the bottom of your bed to improve drainage, especially in heavy soils.
- Use a Liner: If using metal beds, line them with landscape fabric to protect roots and soil.
- Seasonal Rotation: Rotate crops each season to prevent soil depletion and pest buildup.
Common Questions
1. How deep should a raised garden bed be?
A depth of 12 to 18 inches is ideal for most vegetables and flowers to allow for healthy root growth.
2. Can I use untreated wood for my raised bed?
Yes, untreated wood is safe, but it may not last as long as treated wood. Cedar and redwood are excellent untreated options.
3. How do I prevent weeds in my raised garden bed?
Use a weed barrier fabric at the bottom of the bed and regularly mulch on top to suppress weed growth.
Conclusion
Building raised garden beds is a fulfilling project that can elevate your gardening experience. With the right location, materials, and care, you’ll create a vibrant space for plants to thrive. So gather your supplies, roll up your sleeves, and start cultivating your dream garden today!
Leave a Reply